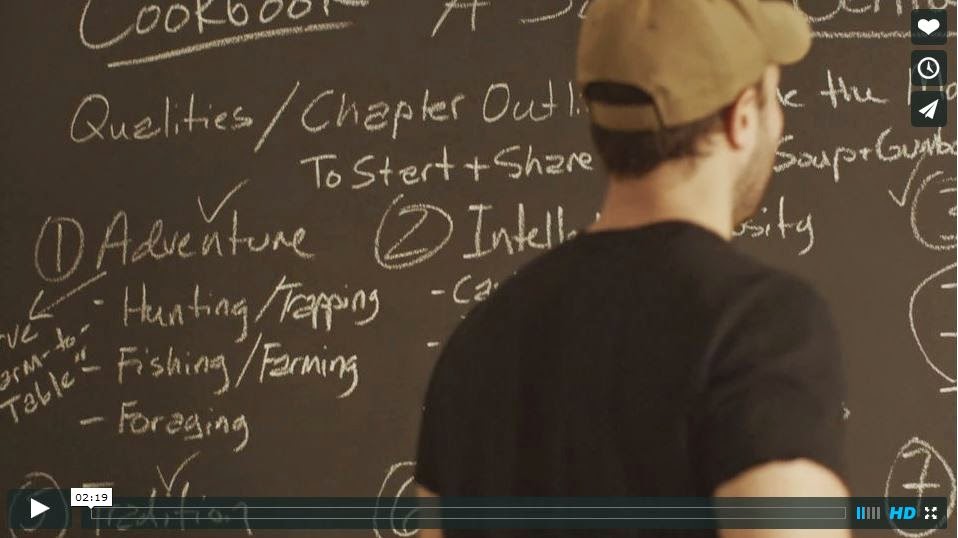
My post on making better eggs debuted last week on The Art of Manliness - quite frankly, it was one of my most popular posts ever - guess there is a lot of interest out there surrounding the world of breakfast - no matter what those publishers say in NYC! It's got me thinking . . . Enjoy!
________________________________________________________
In my opinion, eggs are one of your best resources in the morning. Full of quality protein, virtually carb-free, and packed with vitamins and minerals, they make the ultimate breakfast food. Don’t be too swayed by the cholesterol scares of the 1980s; eating the whole egg-not just the whites-has actually been shown to have anti-inflammatory properties and to improve good cholesterol levels. Eggs are a fantastic food for men who are looking to get in shape; they help build your muscles, and they keep you satiated for a long time. A study showed that men who ate eggs instead of carb-rich bagels for breakfast consumed less calories over the course of the day.
And besides their great nutritional profile, eggs are easy to prepare, taste great, and are dirt cheap (less than 15 cents per egg!).
Yet, for all of their greatness and simplicity, I know a lot of guys who mess up even a basic scrambled egg. Their eggs are
edible, but not
incredible. Since we’ve been focusing our efforts on getting back to the basics in the kitchen, I wanted to share my thoughts and techniques on getting the most out of this versatile food.
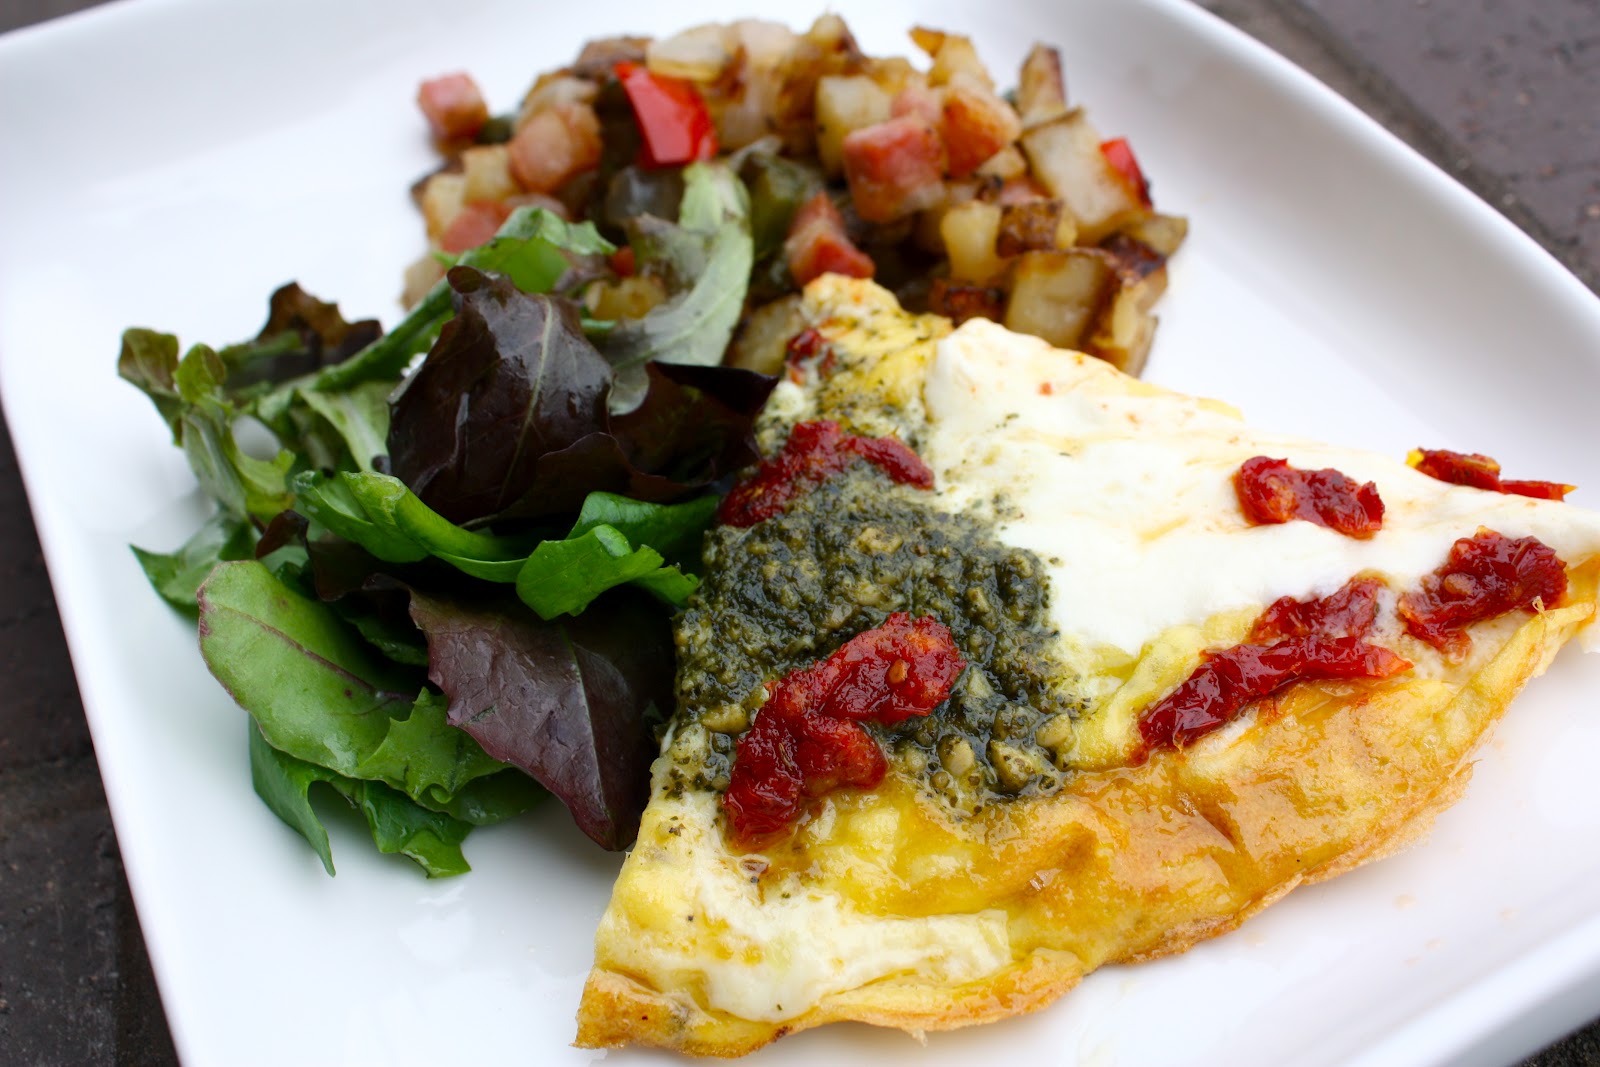
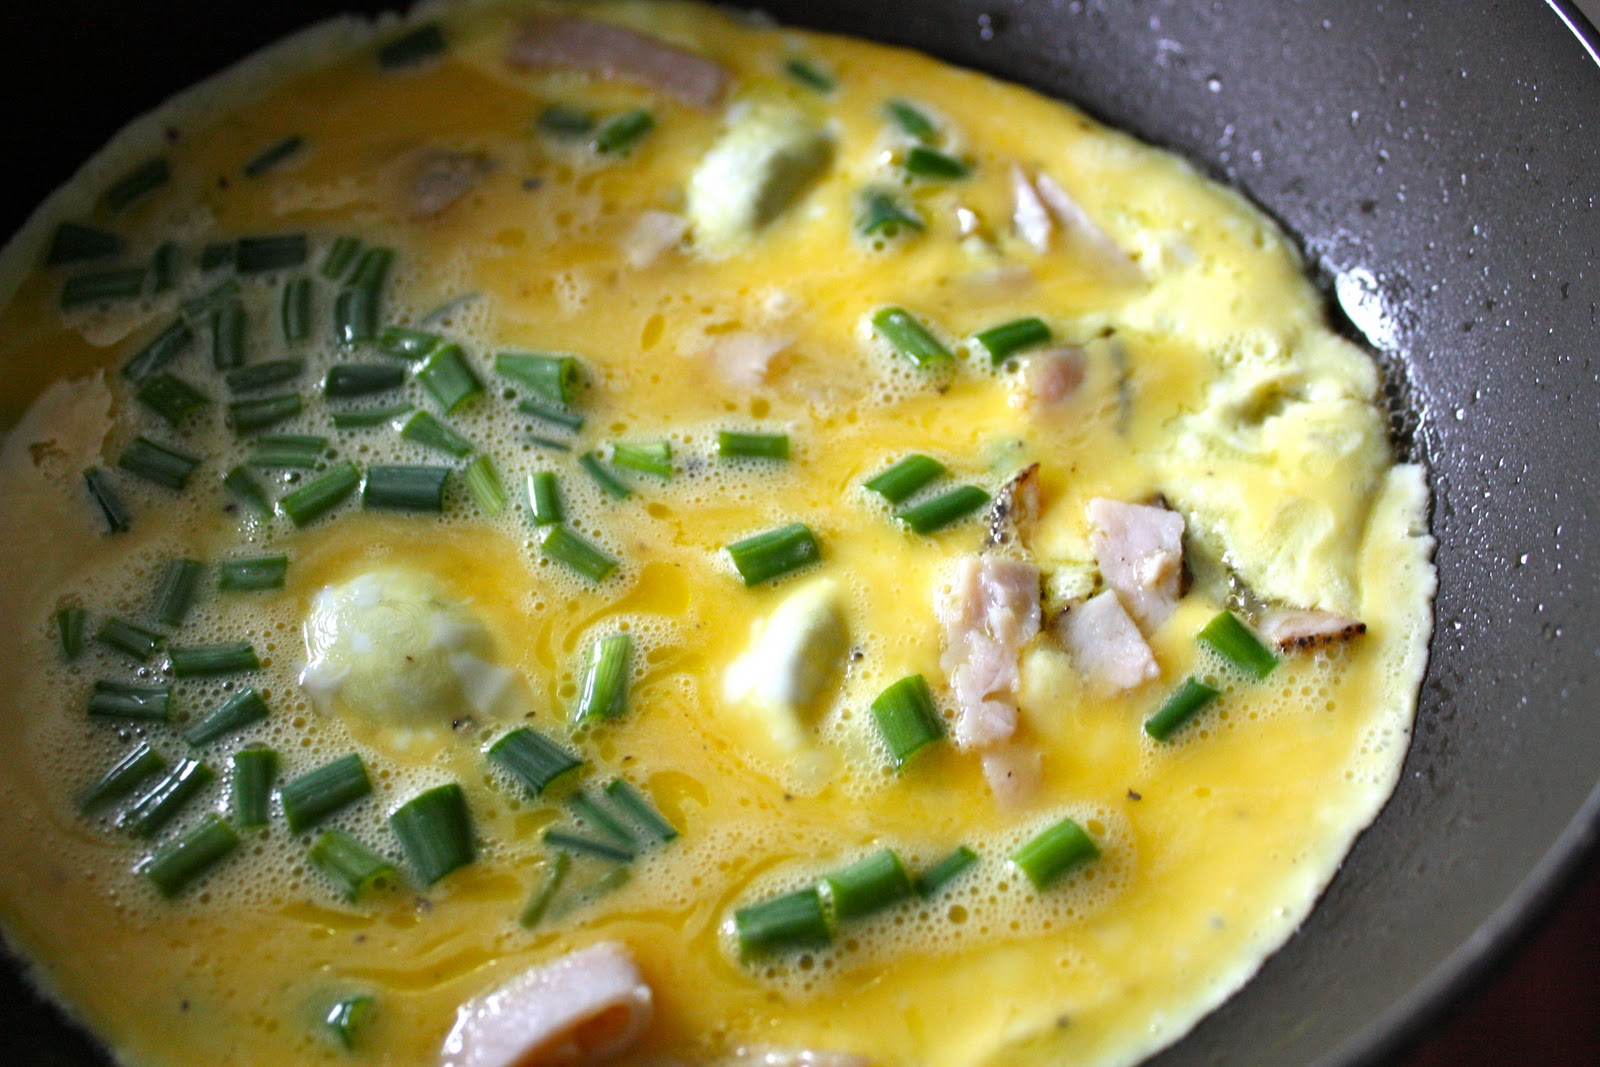
Here are tips on preparing eggs in four of the basic, traditional ways: scrambled, fried, poached, and hard-boiled. We’ll cover the wondrous omelet in a separate post.
Let’s get cracking.
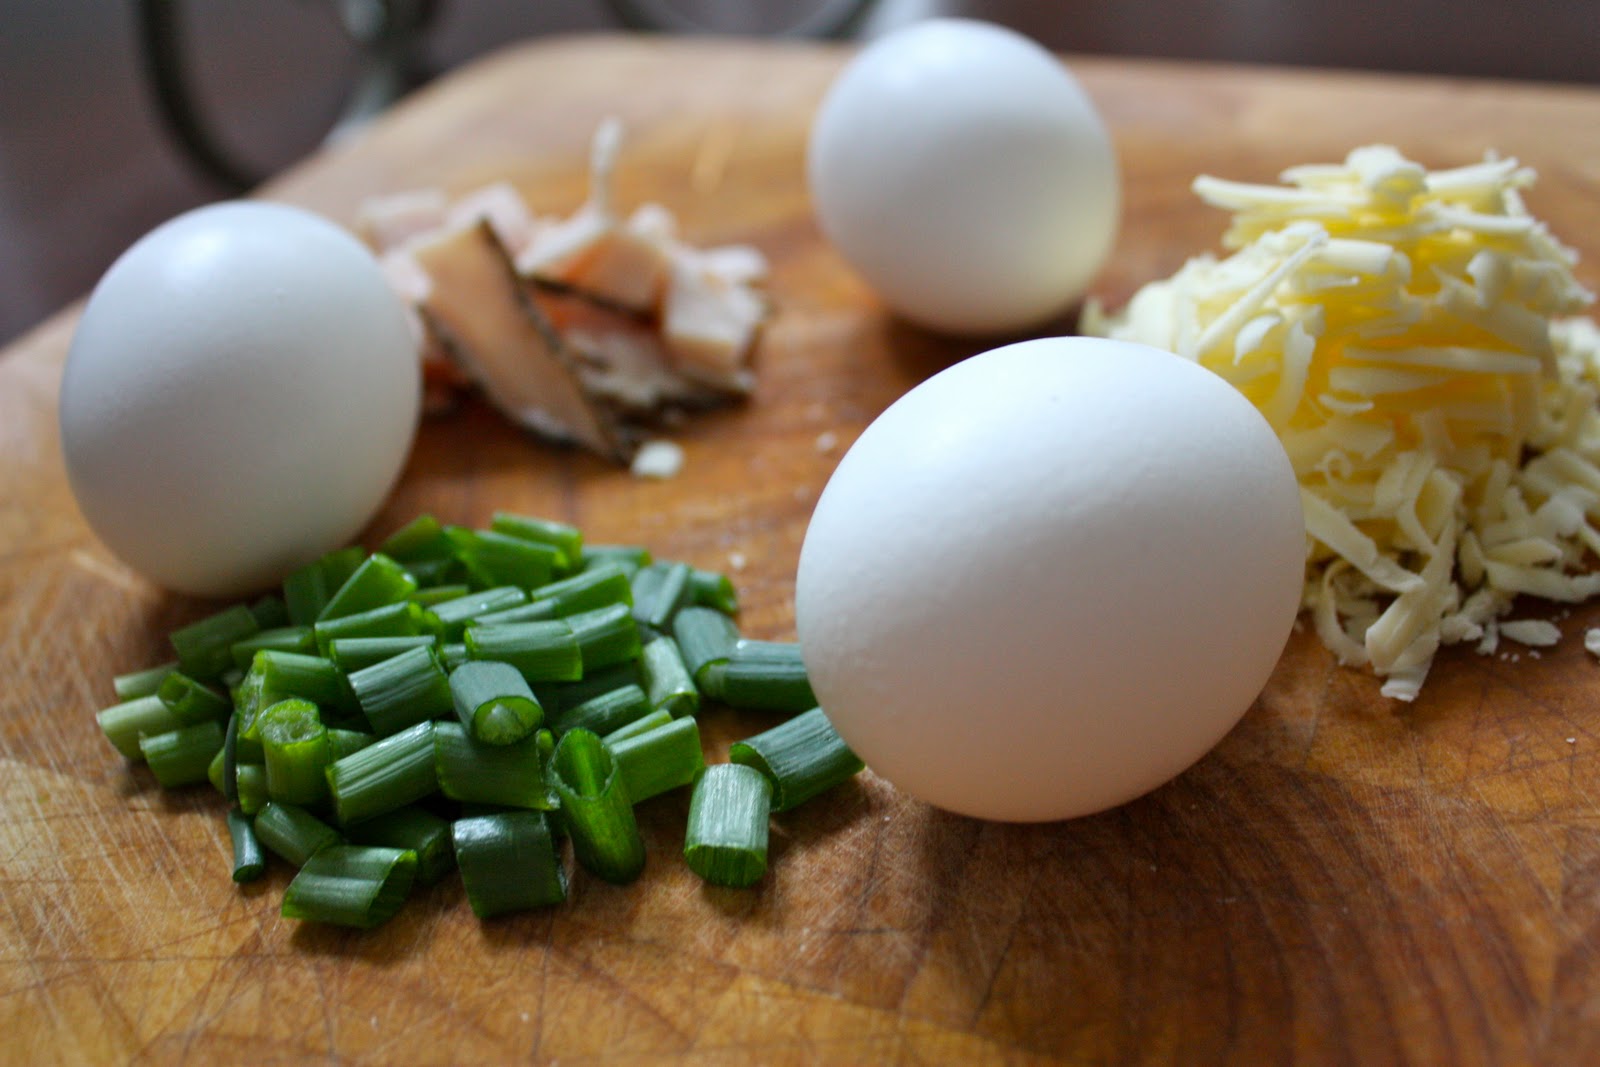
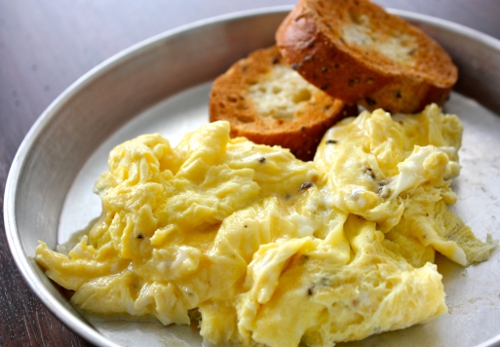
Scrambled Eggs
In my opinion, there are two schools of thought when it comes to the perfect scrambled egg.
Low and Slow vs. Hot and Fast. Whatever your preference, the two methods typically turn out two very unique types of scrambles. Low and slow yields eggs with small curds that are moist and soft, whereas the hot and fast method turns out eggs with larger, denser curds. Instead of taking sides, I’m laying out both options.
Non-stick cookware truly comes in handy when scrambling eggs. The slick non-stick surface allows for easy cleanup, and preparation containing less fat or oil. Make sure you always use a wooden spoon or rubber spatula on the cookware to prevent damaging the non-stick coating.
One of the more important elements to the perfect scrambled egg, regardless of the method, is air. That’s right, air. The more air you can whisk into the mixture, the more full and fluffy your scrambled eggs will turn out. It’s important to whisk your eggs in a large bowl, using a circular motion that pulls the eggs to the surface, rather than stirring around the perimeter of the bowl. Utilize a tilted wheel motion with either a fork or whisk to get as much air into the eggs as possible. With that said, you do not want to overbeat your eggs. You will know when your eggs are ready when the mixture is evenly colored and frothy.
Many people like to add salt, pepper, cream, and herbs to their eggs prior to scrambling. I prefer to wait to season the eggs until they have finished cooking. Regarding cream or herbs, you can utilize these ingredients to enhance moisture and flavor, but they are not necessary. A properly scrambled egg will not need any additional ingredients to taste excellent.
Scrambled Eggs
1 Tablespoon Unsalted Butter
3 Large Eggs
Kosher Salt
Fresh Cracked Pepper
Low and Slow- Heat an 8 or 10 inch non-stick pan over medium low heat, add butter. Meanwhile, crack eggs into a bowl and vigorously whisk until combined and frothy. When butter is completely melted, add eggs to pan. Wait to stir until eggs have just begun to set. Using a wooden spoon, begin to push the eggs towards the center while tilting the pan. This will create small curds and allow the runny portions to reach the hot surface. Continue in this manner until there is no longer any runny portion remaining. Remove eggs from heat, season with salt and pepper to taste, and serve.
Hot and Fast - Heat an 8 or 10 inch non-stick pan over medium high heat, add butter. Meanwhile, crack eggs into a bowl and vigorously whisk until combined and frothy. When butter is completely melted, add eggs to pan. Wait to stir until eggs have set in the pan, the runny portion should remain on top of the cooked portion. Quickly use a wooden spoon to scramble and lift off the cooked portions while allowing the uncooked eggs to reach the heat. Do not over scramble. When there is no longer any runny portion that remains, remove eggs from heat, season with salt and pepper to taste, and serve.
Fried Eggs
Unfortunately, most people typically have a negative connotation with fried eggs. Perhaps it’s the word “fried” in the description. Keep in mind, a fried egg is much different than the caloric disaster of chili cheese fries down at the
Starlight Diner. Honestly, fried eggs, when prepared correctly, hold very little of the oil or fat used to prepare them.
On mornings when I’m rushing out the door, my go-to breakfast is a few fried eggs. I can cook the eggs quickly, and I don’t have to pull out, or clean up, several bowls or utensils.
Butter is traditionally used in the preparation of fried eggs; however, I prefer using olive oil instead. The health benefits of olive oil are abundant, but I also like the distinctive flavor it adds. Also, because extra virgin olive oil has a higher smoke point than butter, I find that my pans clean up easier when using oil instead of butter.
Fried Eggs
1 Tablespoon Extra Virgin Olive Oil
2 Large Eggs
Kosher Salt
Fresh Cracked Pepper
Heat an 8 or 10 inch non-stick pan over medium heat, add oil. Carefully crack eggs into the pan, allowing room for each egg to cook separately. After a minute or so, the egg white will solidify from transparency into a firm white texture.
At this point, you have a few options.
For sunny-side up eggs, continue to cook for another minute until the white portion is firm and just cooked through. Carefully slide eggs onto a plate, season with kosher salt and fresh cracked pepper to taste, and serve.
For a firmer yolk (over easy, over medium, over well), place a lid over the pan and cook (steam) the yolk for another few minutes until the egg is cooked to your desired consistency. You can gently use your finger to press on the yolk to determine doneness. An over-easy yolk will give to slight pressure, whereas an over-medium yolk will be firm to the touch. Remove lid, season eggs with kosher salt and fresh cracked pepper to taste, and serve.
Another option is to remove the pan from the heat, and using a quick tilted back-and-forth motion with the pan, flip the egg onto its other side. Of course, a spatula may also be used to flip the egg. Return the pan to the heat and continue to cook until the yolk is cooked to your desired consistency. Remove from heat, season with kosher salt and fresh cracked pepper, and serve.
Poached Eggs
Novice cooks typically shudder in fear at the idea of poaching an egg. Truth be told, it takes some skill to get this technique down. But, with a little practice and a few tips, you will be able to impress your guests in no time.
Poaching is one of the healthier methods for preparing eggs. Because the eggs are cooked while immersed in water, there is no need to add extra oil or butter. A word of caution: it typically takes a bit more time to prepare poached eggs, which may not make for convenient preparation on a busy weekday.
When poaching, it’s important to find the freshest eggs possible. Ideally, eggs should be no more than a week old. Remember, fresh eggs lack oxygen, are heavy in weight, and the white will gather completely around the yolk, making a rounder, neater shape.
Adding a tablespoon of white wine vinegar to the simmering water will help the egg hold its shape. Simply placing the poached egg in a bowl of water will remove any of the vinegar taste after cooking. I also find that placing the egg on a piece of bread after cooking is a great way to get rid of any excess water.
When entertaining a large crowd, you can poach a batch of eggs in advance, and immerse and hold the eggs in ice water until ready for service. Before serving, return the eggs to simmering water to heat through.
Poached Eggs
1 Tablespoon White Wine Vinegar
2 Large Eggs
Kosher Salt
Fresh Cracked Pepper
Fill a 12 inch stainless skillet or a large pot with at least three inches of water. Bring water to a boil over high heat. When water comes to a boil, reduce heat to low, add vinegar, and allow water to remain at a very slow simmer. Break eggs into separate small containers. Next, carefully slip eggs into the simmering water. If necessary, using a spoon, gently nudge the egg whites closer to the yolk. Allow eggs to slowly simmer for 3 - 5 minutes, depending on yolk preference. Carefully remove eggs using a slotted spoon or spatula and immerse in water to remove any vinegar, if desired. Season eggs with kosher salt and fresh cracked pepper, serve.
Hard-Boiled Eggs
Hard-boiled eggs are a handy “on the go” breakfast staple. Eating a few hard-boiled eggs in the morning is a convenient way to get your metabolism started without facing a crash later in the day. The best part about this cooking method is that it creates eggs that you can store for several days to use in salads, sandwiches, or simply as a quick snack. A touch of kosher salt and fresh cracked pepper can really enhance the flavor of a simple hard-boiled egg.
Several manufacturers now sell hard-boiled eggs alongside fresh eggs at the store. For a premium, they offer the convenience of precooked and peeled eggs. If you don’t have the time to prepare hard-boiled eggs on your own, this is a great time saver.
However, if you want to save a few bucks, these are really quite simple to prepare at home.
My best advice after cooking the eggs is to allow them to come back up to room temperature before peeling. You will encounter trouble if you try to peel the eggs while they are either too hot or cold. Store your hard-boiled eggs in an airtight container and refrigerate, keeping up to 3 - 5 days.
Hard-Boiled Eggs
6 Large Eggs
Place eggs into a large pot or skillet and cover with water by one inch. Over medium high heat, bring water to a slow boil and allow eggs to simmer for 1 minute. Remove from heat, cover, and allow the eggs to sit for 10 - 12 minutes. Carefully transfer eggs into a colander and rinse under cold running water until they are no longer warm to the touch. Allow the eggs to sit at room temperature for 15 - 20 minutes before peeling. Serve immediately or store in an airtight container and keep refrigerated for later use.


